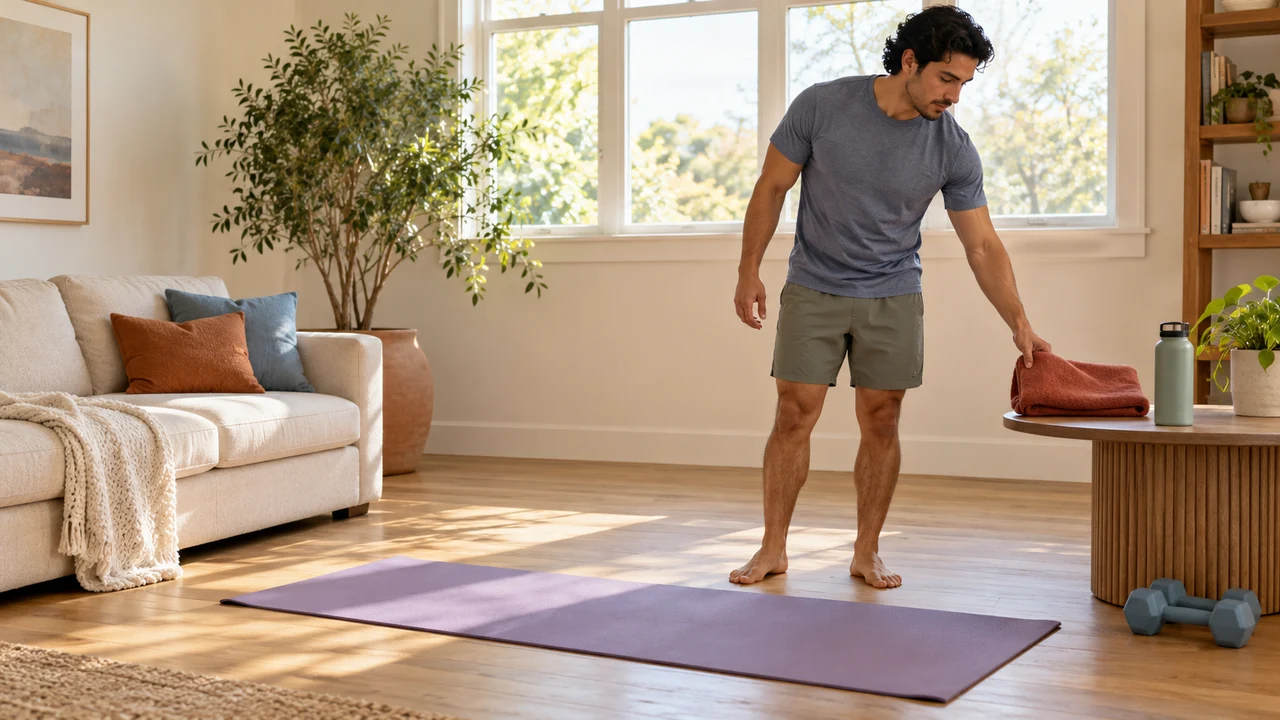

Moving at home removes travel time and cost, which makes it a practical option for many people. It also means you are your own setup crew and safety check. This guide covers both.
- Clear a non-slip space with room to move freely, and use only stable, non-rolling furniture if you need support.
- Short sessions and seated formats both count when time, comfort or balance are limited.
- Learn exercise technique from a qualified instructor or structured program tailored to your situation.
- Change one variable at a time (reps, duration or days) and allow recovery before adding more.
Prepare a clear space and stable equipment
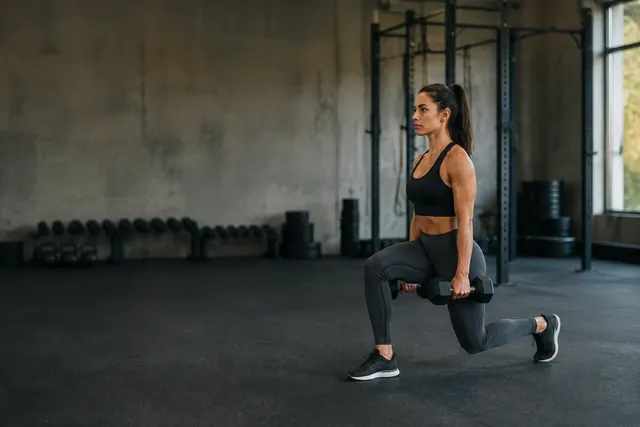
Choose an area with enough room to move your arms and legs freely. Clear away rugs that slide, cables and anything you could trip over. A non-slip surface matters more than a large one.
If you use a chair, pick a sturdy one without wheels, and make sure it cannot move, for example with its back against a wall. Any equipment should be stable and in good condition.
Brief and seated formats
Home activity does not have to be long. Short sessions spread through the day count, and seated activity is a valid option when standing for long periods is not comfortable or safe. Starting with what you can do today is more useful than waiting until you can do more.
Related read: Build a Fitness Routine That Fits Real Life
Basic movement categories, with qualified instruction
Most home routines draw on a few kinds of movement: getting up and down, pushing, pulling, carrying and walking or marching. How to perform specific exercises safely depends on your body and experience, so learn technique from a qualified instructor, a reputable structured program, or a health professional who knows your situation.
This guide deliberately does not prescribe exercises for you; it helps you set up so that the instruction you follow can be done safely.
Change one thing at a time and allow recovery
Progress gradually by changing one variable at a time: a few more repetitions, a slightly longer session, or one extra day in the week. Then give your body time to recover before changing something else. If something hurts, go back to the previous level or stop.
Practical barriers and minimal gear
Common barriers are time, space, motivation and noise. A small routine you can do in the time a kettle boils, a set time each day, or a short walk around the block can all work. You do not need special equipment to begin. A sturdy chair, a wall and comfortable shoes are enough for many starting points.
Try it: an optional chair example
Only if standing up is already safe for you: use a sturdy chair without wheels on a non-slip surface, secured so it cannot move. With feet planted, stand up and sit down slowly 3 to 5 times, using the armrests if you need them. Pause or do fewer if needed, and stop for pain or unsteadiness. This is an editorial example, not a tested protocol.
Sources
- NIDDK: Staying active at any size
- CDC: Adding physical activity as an adult
- NHLBI: Physical activity and your heart, risks
Written from primary sources. Review by a qualified professional is pending. General information, not medical advice. Links are to primary sources and are not endorsements of LiftIQ. Photos are illustrative.
Related guides


Keep exploring
Read as much as you like. An account is for following your own plan and progress.